


Making yogurt at home for you and your family is fun, easy and can save you a lot of money in the long run! To make yogurt at home, all you need is bacteria (also known as a yogurt starter culture) and milk.
Even better, yogurt making does not require any specialized equipment. (If just starting out making yogurt, this basic supply list can be helpful.)
Like most people, you're probably looking for a healthier way to start your day. And what could be more beneficial than making your yogurt at home? It's easy, affordable, and a great way to get your daily probiotics. Download our Yogurt Guide and Recipe Book today and start making healthy and delicious yogurt recipes at home.
1. CHOOSE A YOGURT STARTER AND MILK
You have several options when it comes to selecting a yogurt starter culture and type of milk to use to make yogurt at home. While the basic process for making yogurt at home is the same for all types of yogurt starters and milk (simply add the bacteria to the milk and let it culture) there are some nuances to using different yogurt starters and milk.
When choosing the best yogurt starter, consider how each type works, and choose the one that best fits your lifestyle. Some starter cultures are direct-set or single-use, meaning each packet of starter will make one batch of yogurt. Other starter cultures are heirloom yogurt starter or reusable, meaning that you can make yogurt over and over again by using a bit of yogurt from your previous batch as a starter.
When choosing milk for making yogurt, take into consideration how the milk will interact with the yogurt starter culture and affect the yogurt's final thickness and texture. For non-dairy milks you will need to use a Vegan Starter Culture (or a Vegan Yogurt Starter Kit).

2. PREPARE THE MILK FOR MAKING YOGURT
Depending on the yogurt starter culture you select, you may need to apply heat to your milk to prepare it for culturing. The procedure for culturing a batch of mesophilic yogurt with pasteurized milk does not require any heat, but for pasteurized thermophilic yogurt, the milk must be heated to 160º F, then cooled to a culturing temperature of 110º F, before adding the yogurt starter culture.
To make raw milk yogurt, with any type of culture, there are special considerations, and an extra step may be required.
3. INOCULATE THE MILK
Using the correct proportion of culture to milk is important. The proper amount of milk will provide a nutritious environment for the bacteria to culture and thicken the milk properly. For best results, follow the instructions included with your yogurt starter culture or one of our Yogurt MakingHow-To Videos below.
Instructions & How-to Videos for Culturing Yogurt at Home


4. LET THE MILK CULTURE
As yogurt cultures, its temperature should remain fairly constant, and the yogurt should not be disturbed.
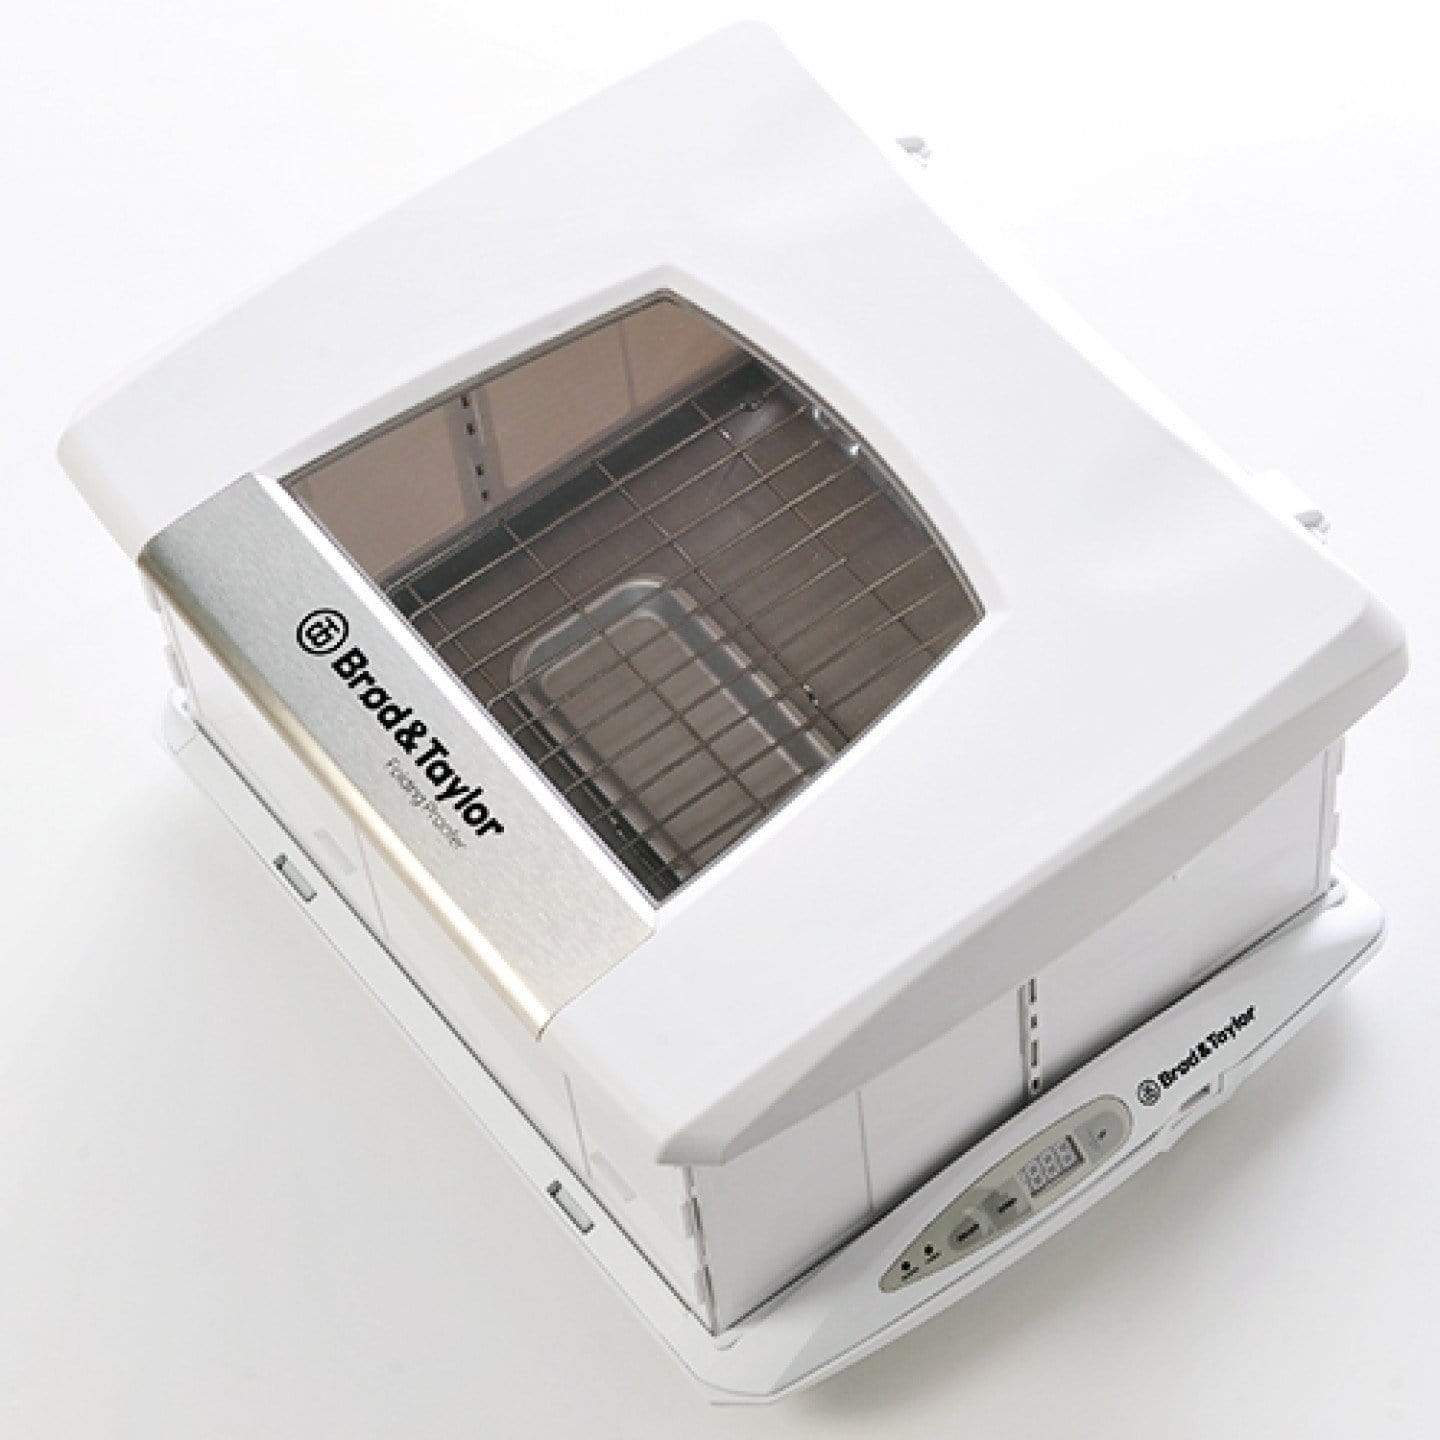
- For thermophilic yogurt starters (Greek Yogurt Culture, Bulgarian, Traditional Flavor, Mild Flavor, and Vegan), maintain a temperature of 105-112º F. You will need a yogurt maker or similar appliance to control the temperature.
- For mesophilic yogurt starters (Viili, Filmjölk, Matsoni Yogurt, and Piimä), maintain a temperature of 70-77º F. You can culture these yogurts right on your counter top.
Keeping a Consistent Temperature
Try these tips for Maintaining Temperature when Culturing Countertop Yogurt or learn How to Culture Thermophilic Yogurt without a Yogurt Maker.
How Long to Let Your Yogurt Culture
Culturing time is an important factor in making good yogurt. The amount of time the yogurt cultures depends on your taste and texture preference. In general, the longer yogurt cultures, the more tart and thick it will become. You can also refer to the instructions included with your yogurt starter for culturing times.
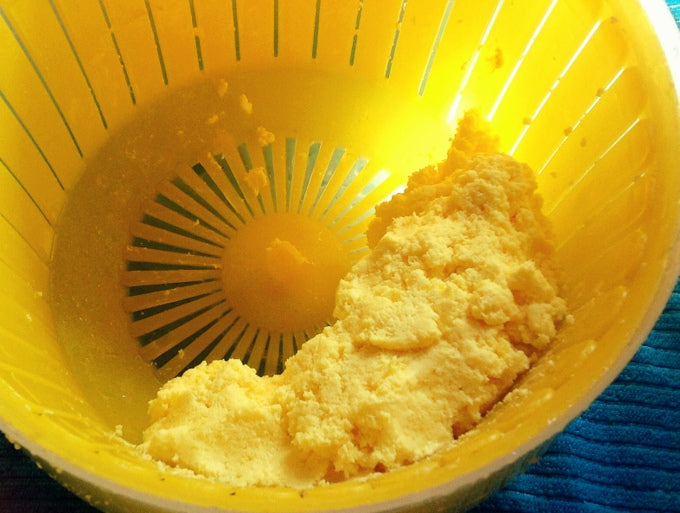
Natural Separation During the Yogurt Culturing Process
Toward the limit of culturing time, the yogurt may begin to separate into solid (curds) and liquid (whey). The whey is quite nutritious and can be strained off to use in cooking or culturing, or it can be stirred back into the yogurt.
Separation is usually the result of yogurt's culturing either too long or too fast. Once yogurt begins to separate, it is not long before the bacteria will begin to die off so be sure to keep an eye on your yogurt as it cultures.
Our Yogurt Starter Troubleshooting FAQ features several tips for dealing with yogurt that doesn't turn out exactly as expected.
5. REFRIGERATE YOUR HOMEMADE YOGURT
Thermophilic yogurt requires a 2-hour cooling-off period to help ease the transition between culturing temperature and refrigerator temperature.
Finished yogurt should be refrigerated for at least 6 hours to halt the culturing process. Once the fermentation has been stopped, it will not restart even if the milk is brought back to room temperature stored on our fermentation kit.
HOW TO MAKE THICKER HOMEMADE YOGURT
If a thicker yogurt is preferred, draining whey from the finished yogurt is one option for thickening it. Draining whey produces thick, Greek-style yogurt. For other ways to thicken homemade yogurt, see our tutorial on How To Thicken Yogurt.
Download our Yogurt Guide and Recipe Book today to make your delicious yogurt recipes at home!

WHAT'S NEXT?
Now that you know more about making yogurt at home, make sure you have all the supplies you need and grab a yogurt starter culture. With our How-To Videos and collection of expert advice on culturing yogurt, you'll be on your way to delicious homemade yogurt in no time.
You Can Do This. Happy Yogurt Making!


