
Hello and welcome to the April Flowers Baby Blanket crochet-a-long!
It’s finally springtime with full of flowers, sunshine and warmer weather which inspired me to create this wonderful baby blanket. My favourite season is Spring when you can take long walks, enjoy the weather and admire the flowers and all the other wonders that this season can offer.
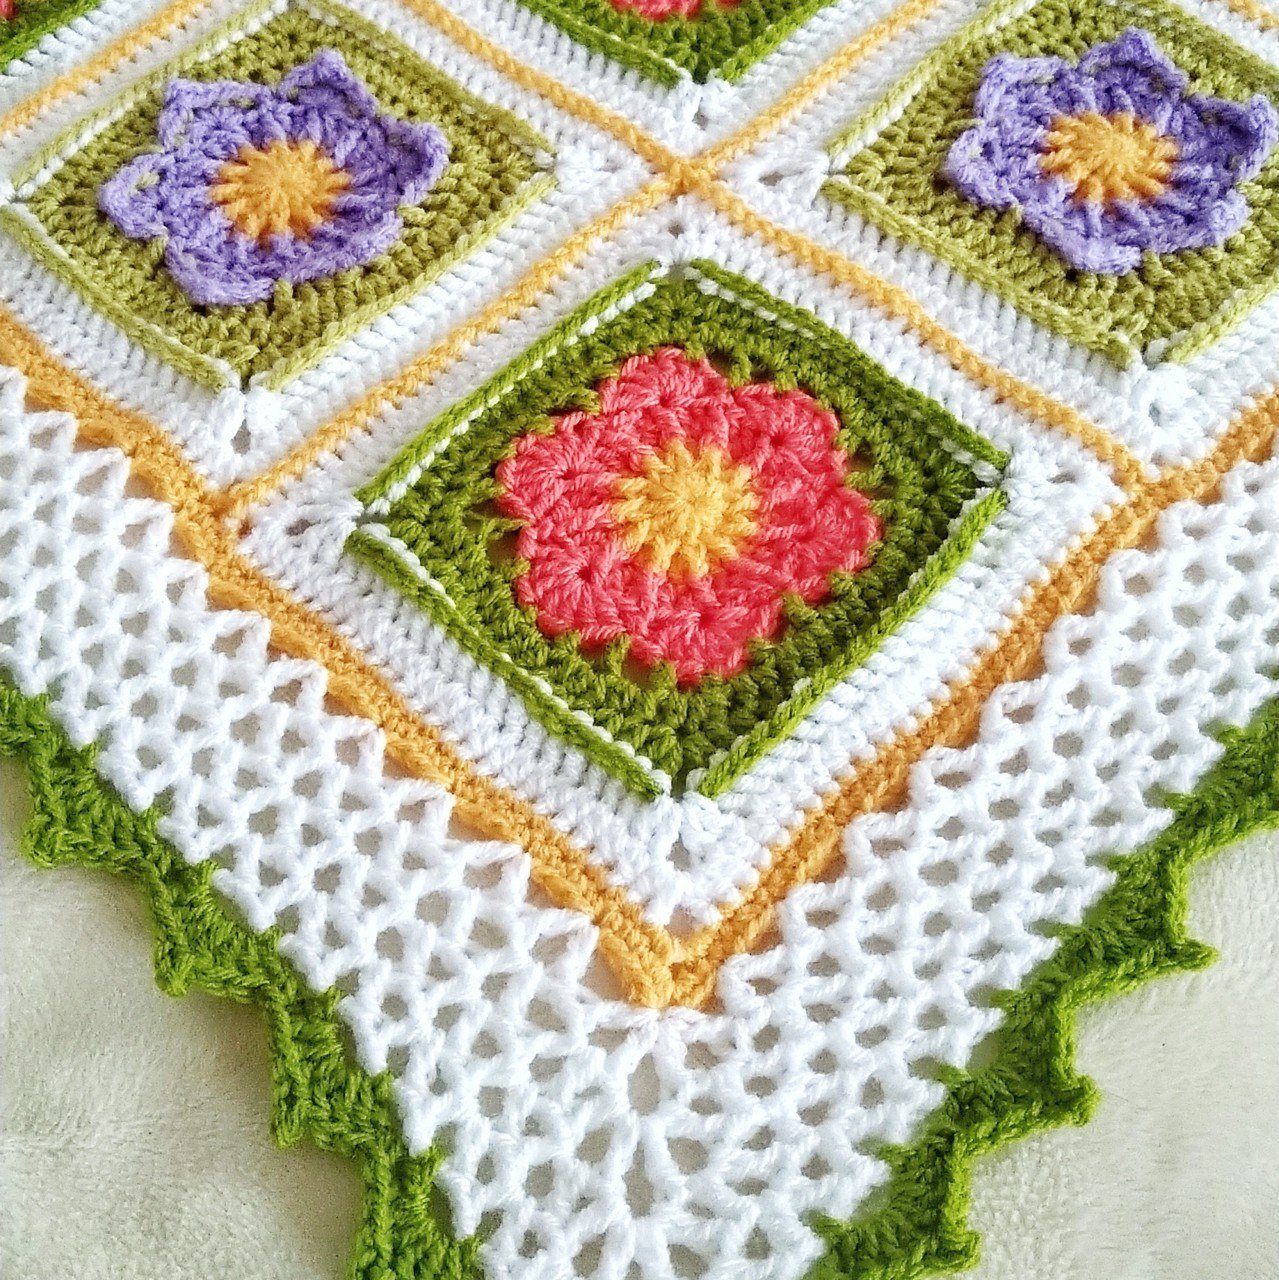
This beautifully textured baby blanket is expressing my love to Spring, showing beautiful colors and filling my soul with sunshine just looking at it!

ABOUT OUR DESIGNER
Krisztina is the designer behind K.A.M.E. Crochet. She is a passionate crochet enthusiast, mother of two beautiful children and a wife of a super patient husband who’s supporting her crochet journey since the beginning. She’s from Hungary but used to live in the UK for more than 7 years and that’s where she learnt to crochet by herself in 2017. After picking up the hook to make baby items for her son, she was soon hooked on crochet and realised she could make her own patterns. She loves working with beautifully textured designs and stitches and thinks of crochet as a unique way to express herself.
Follow Krisztina
Blog | Instagram | Facebook | Ravelry
SUPPLIES
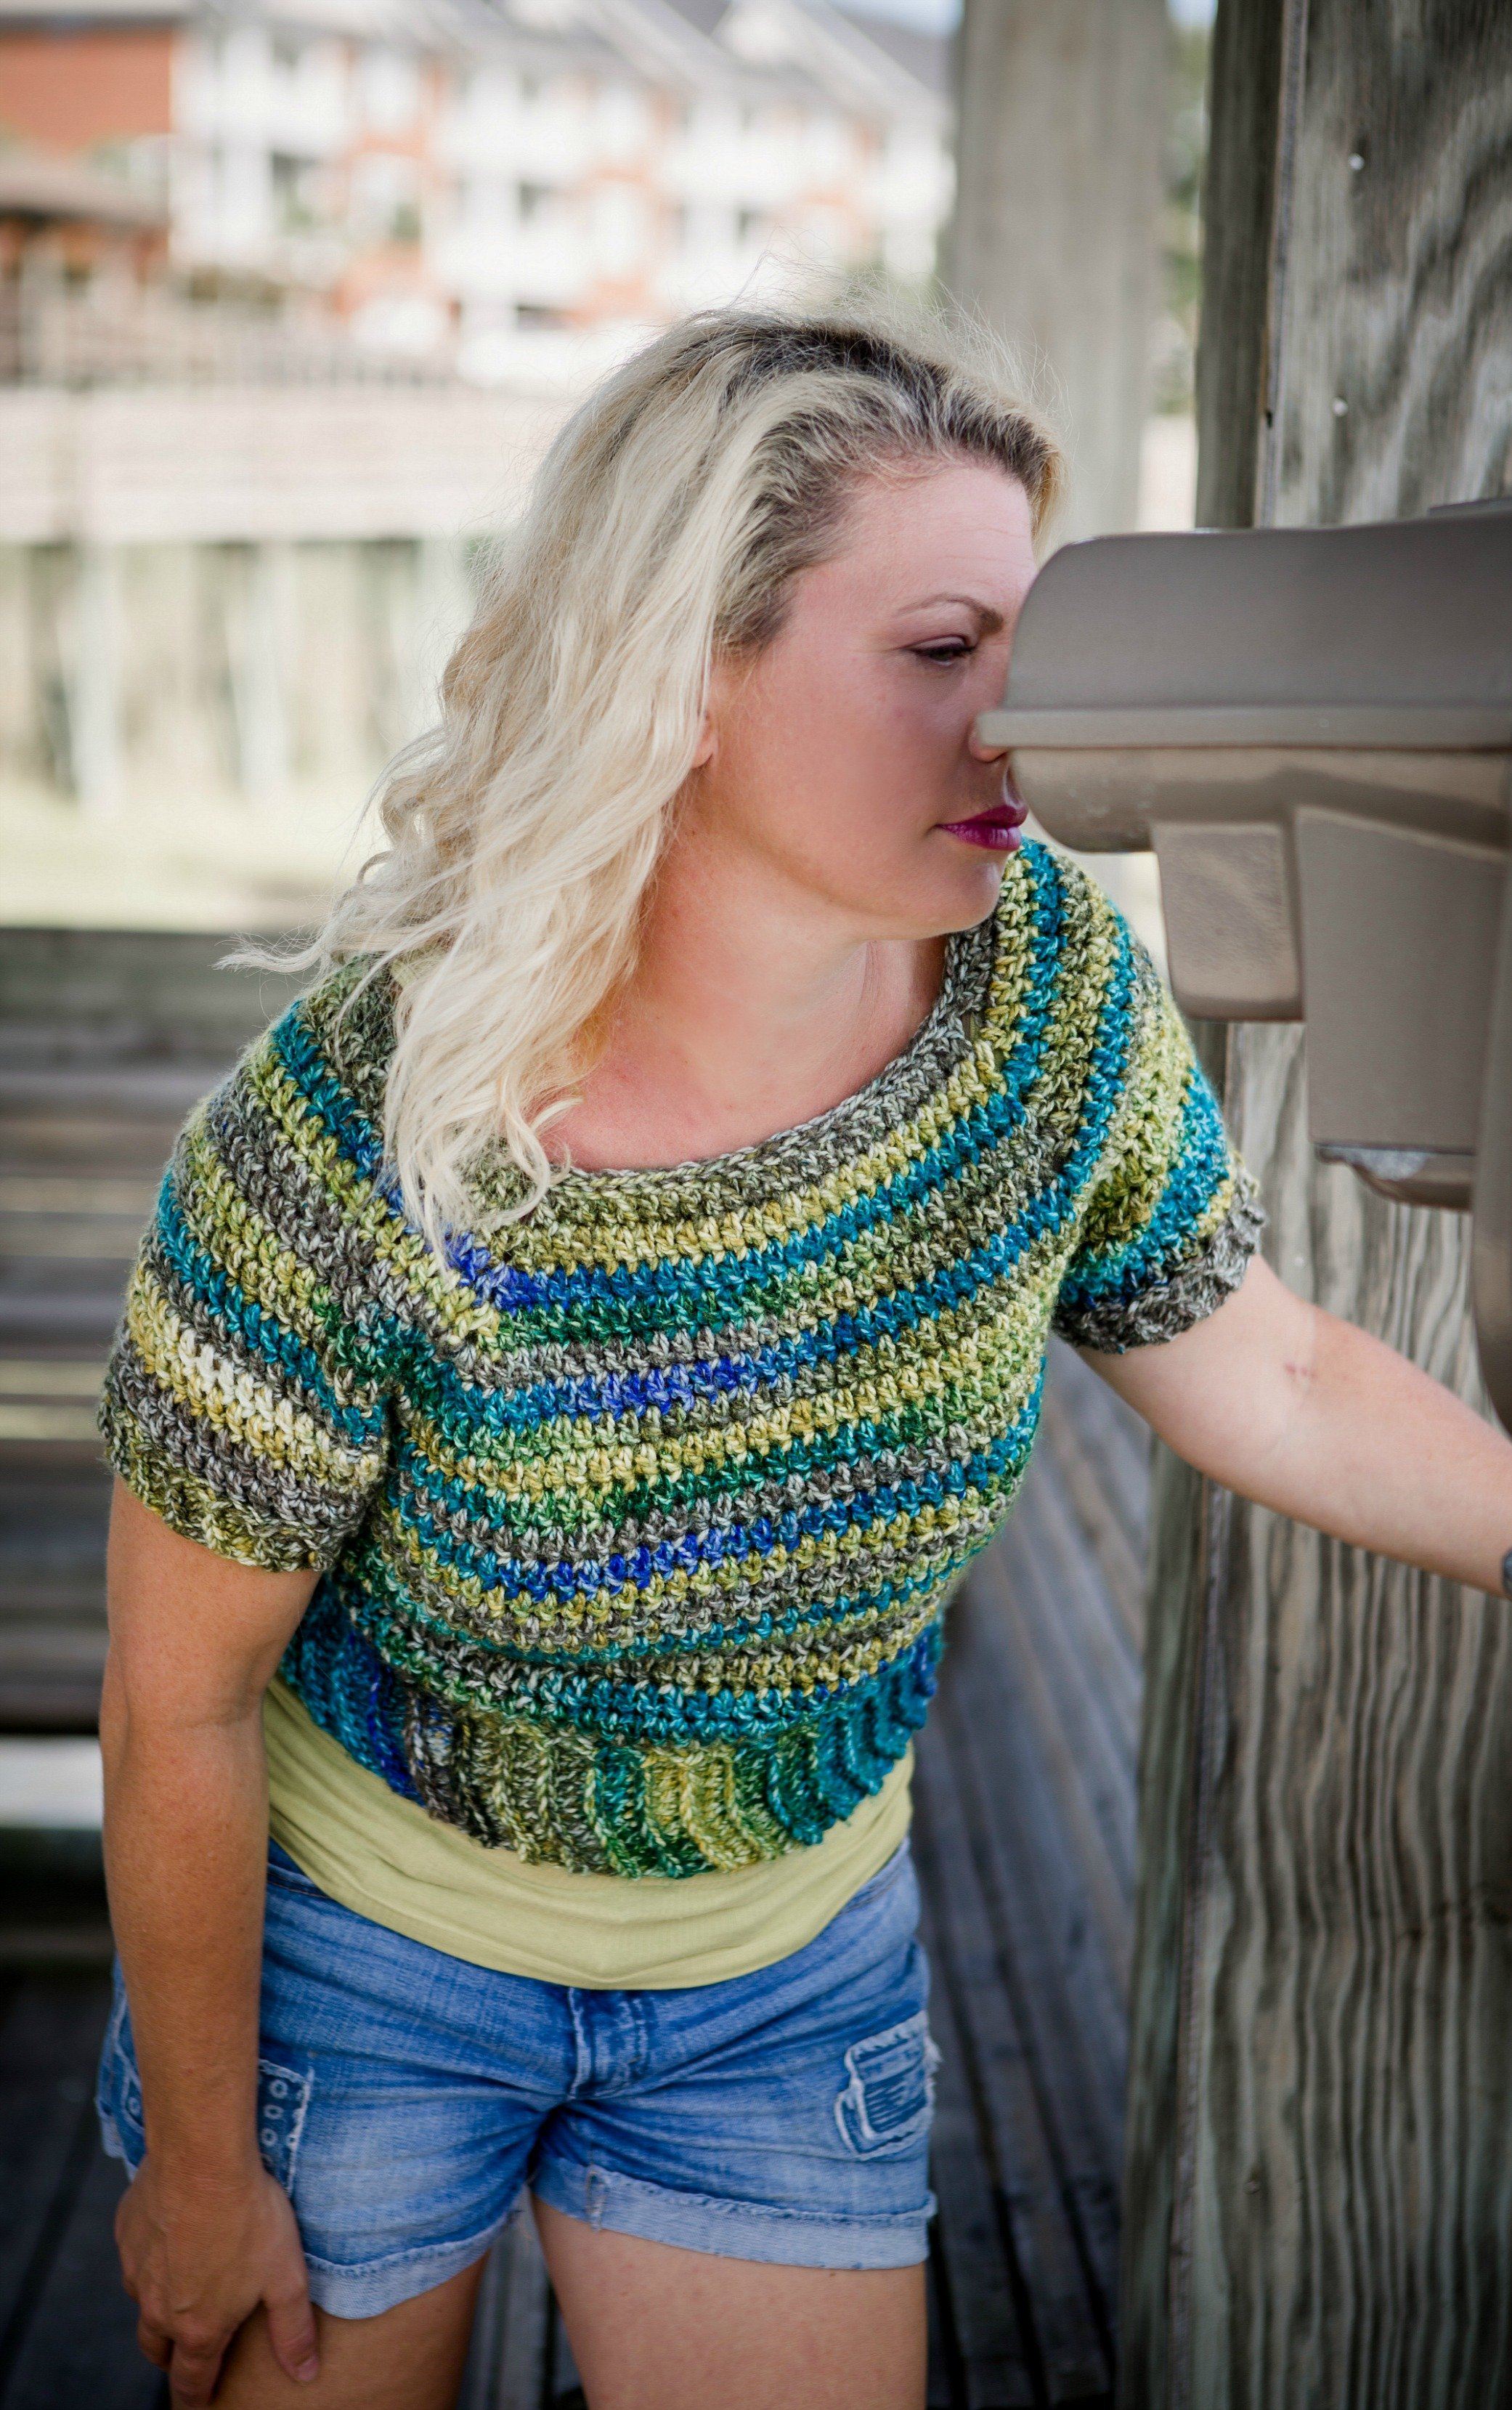
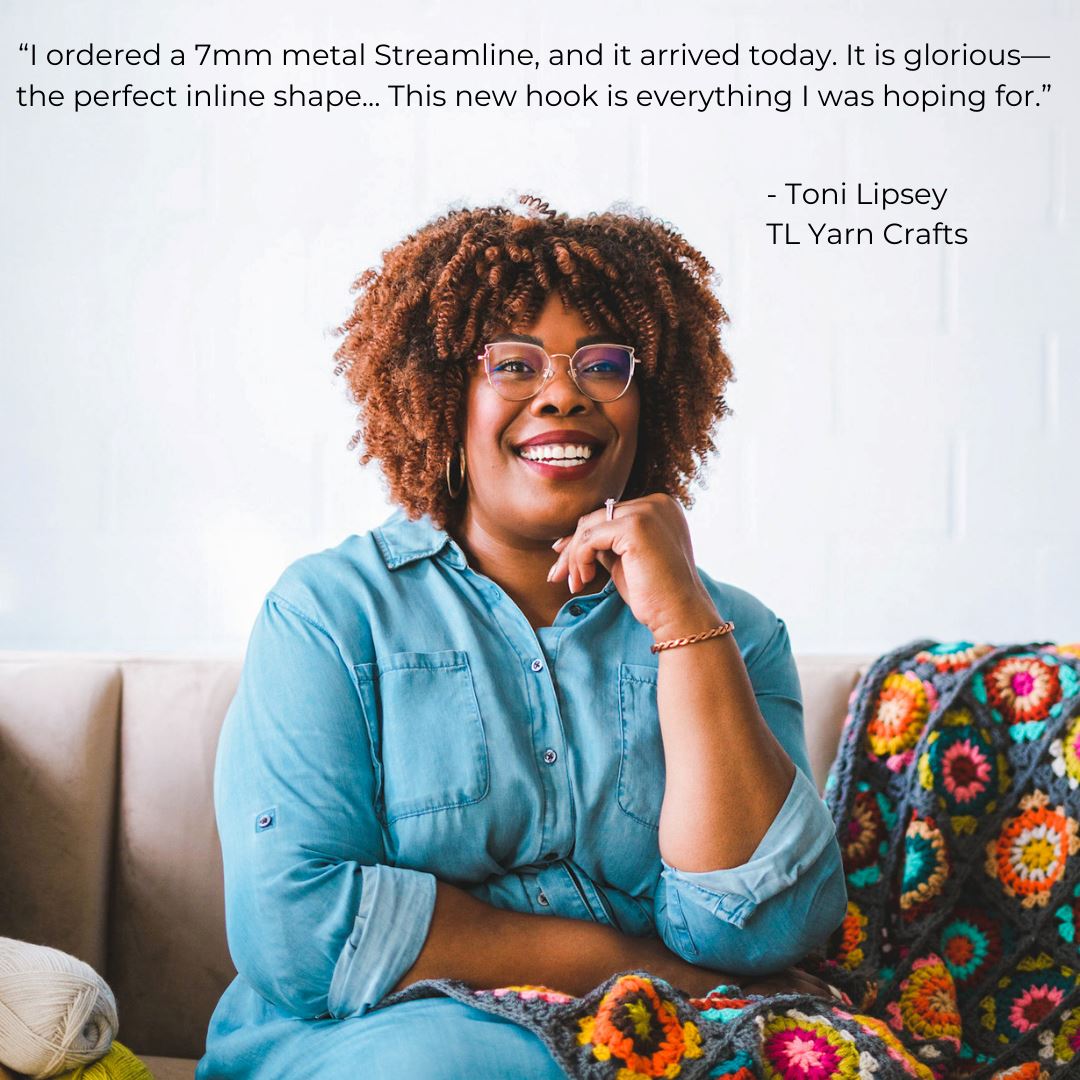
4 mm (G) size hook (I used Furls Odyssey Lime & Gold)
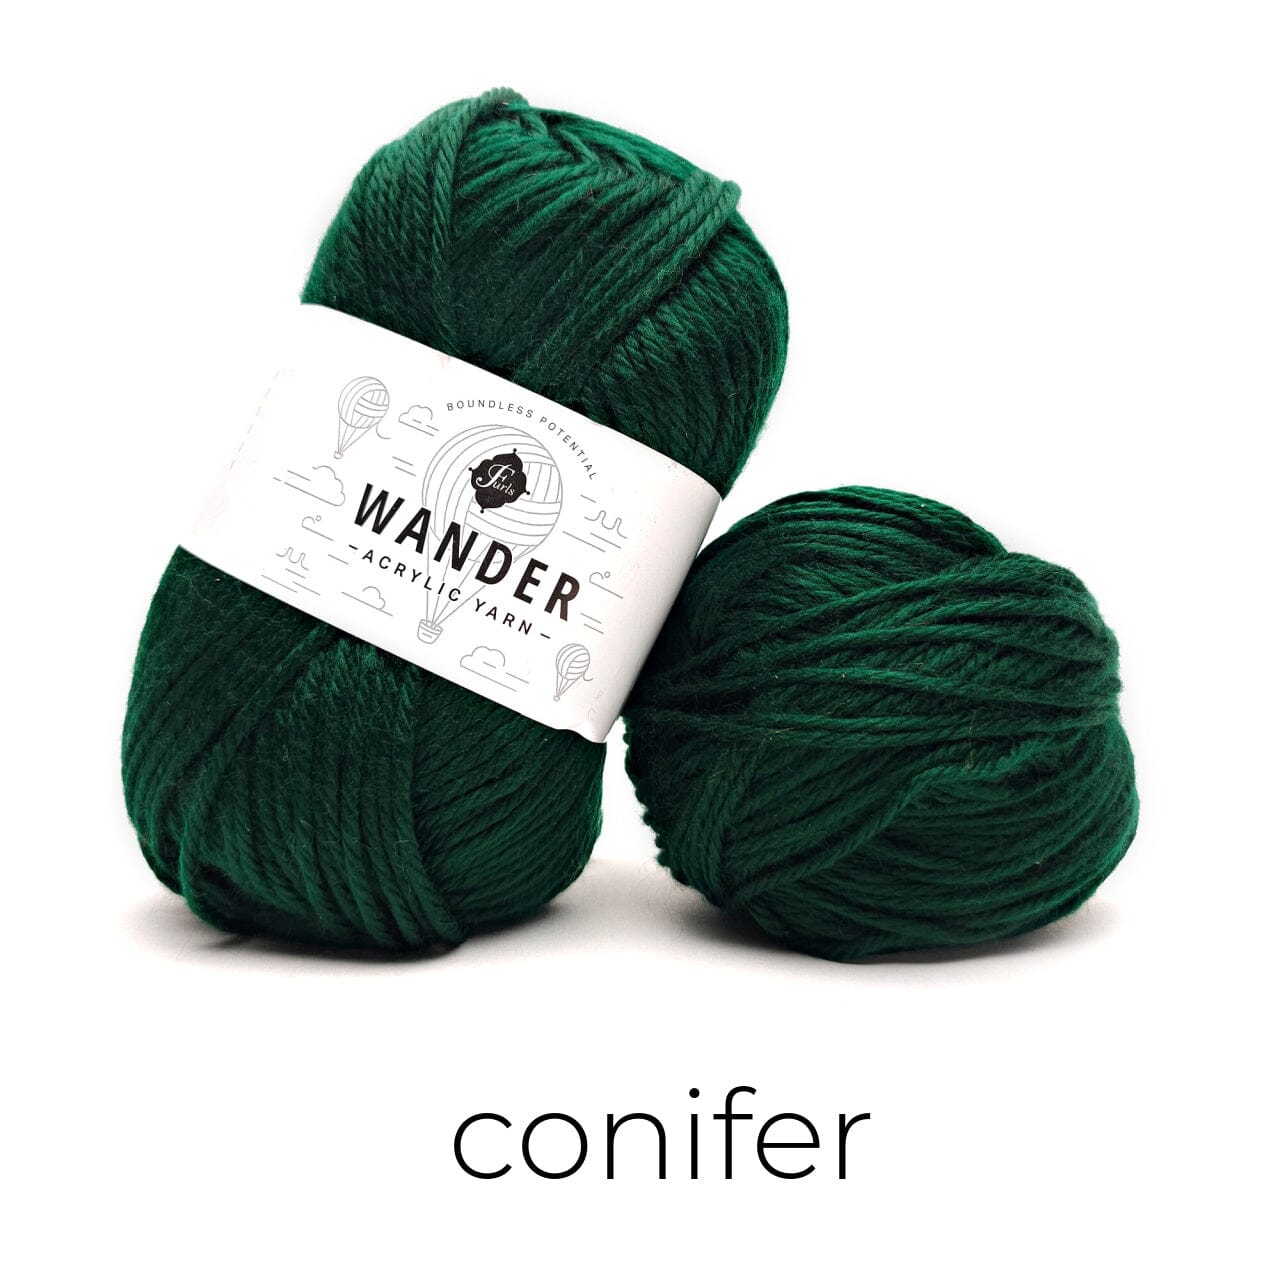
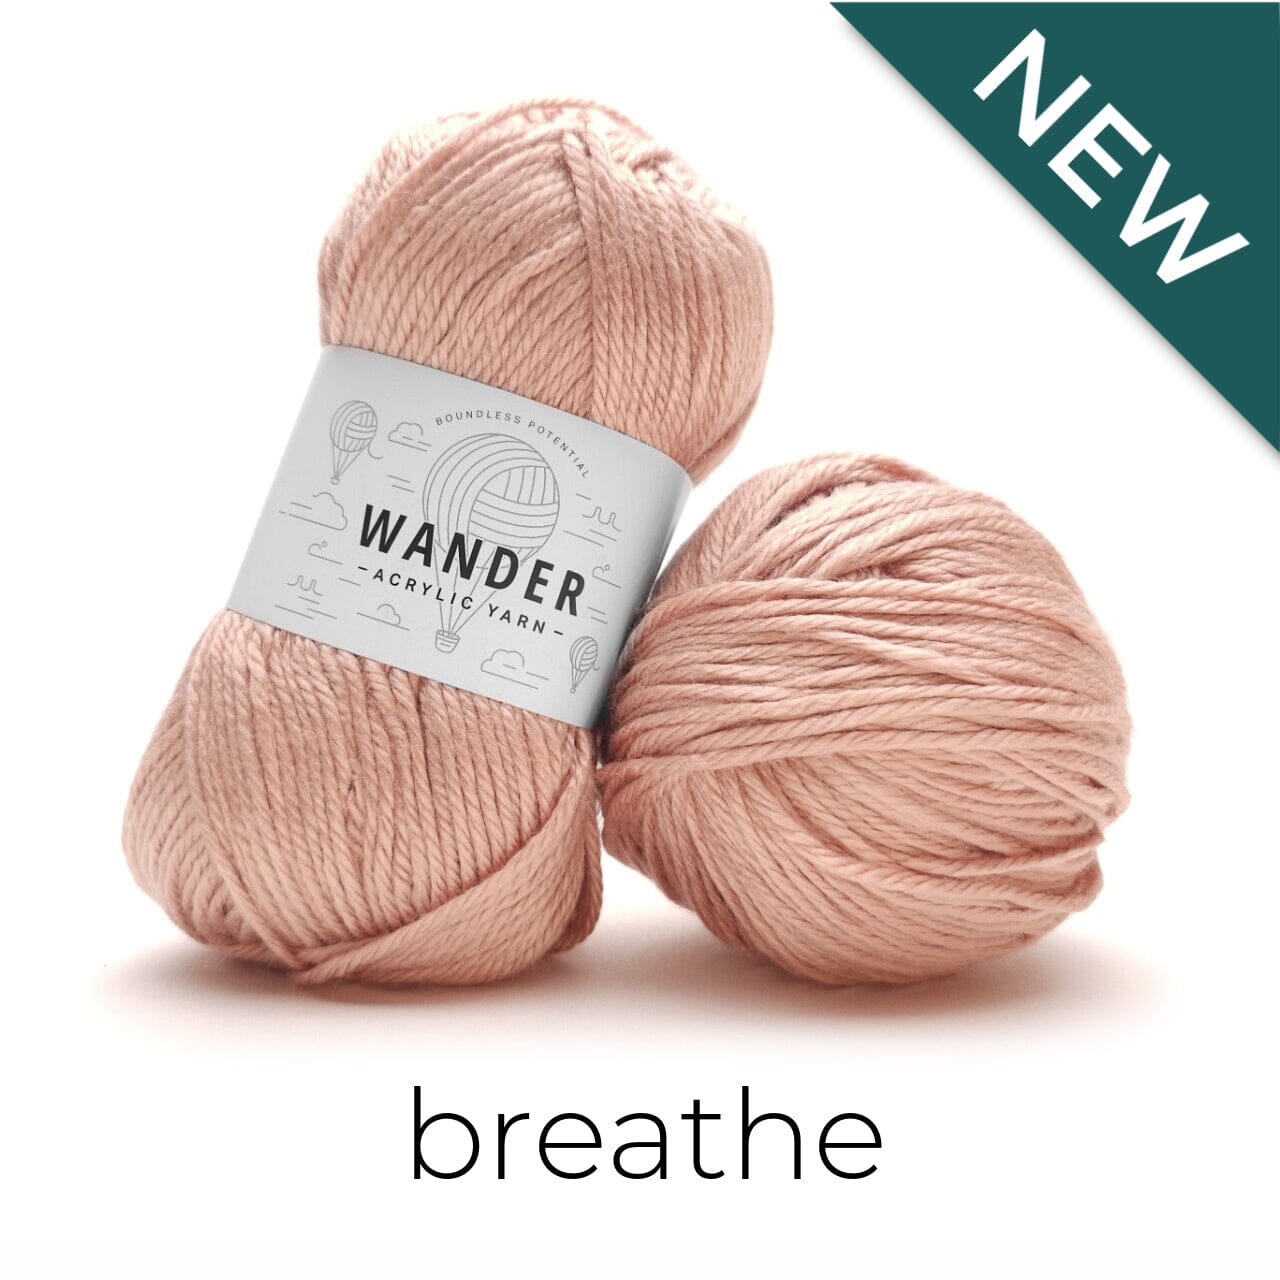
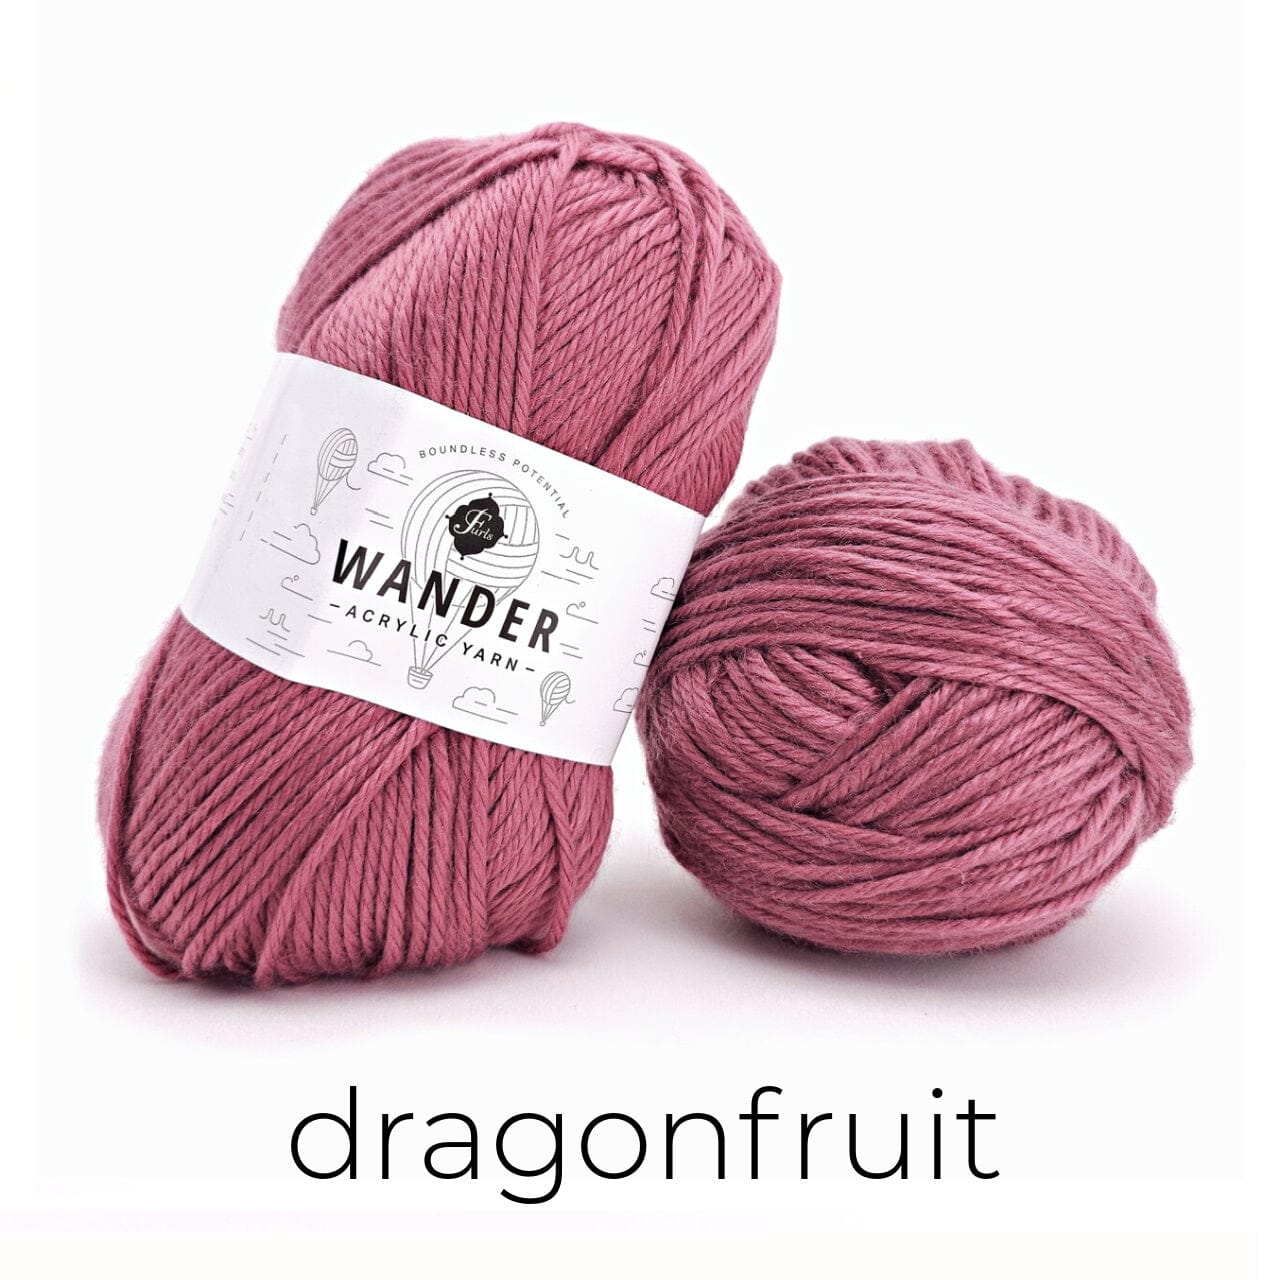
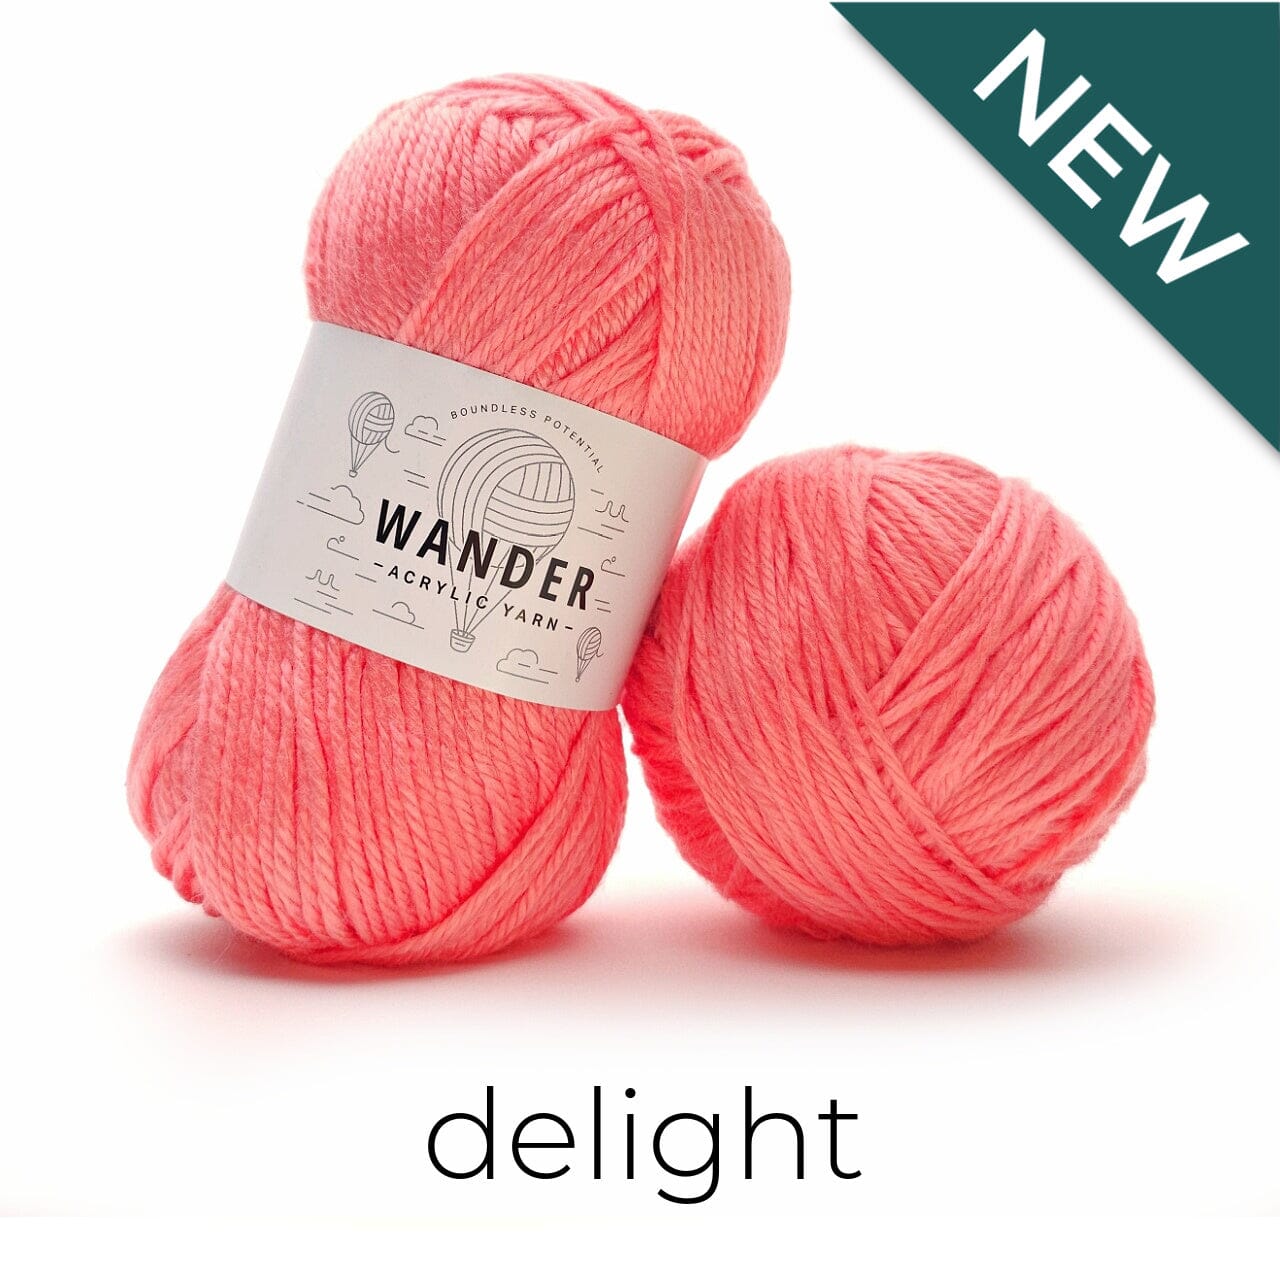
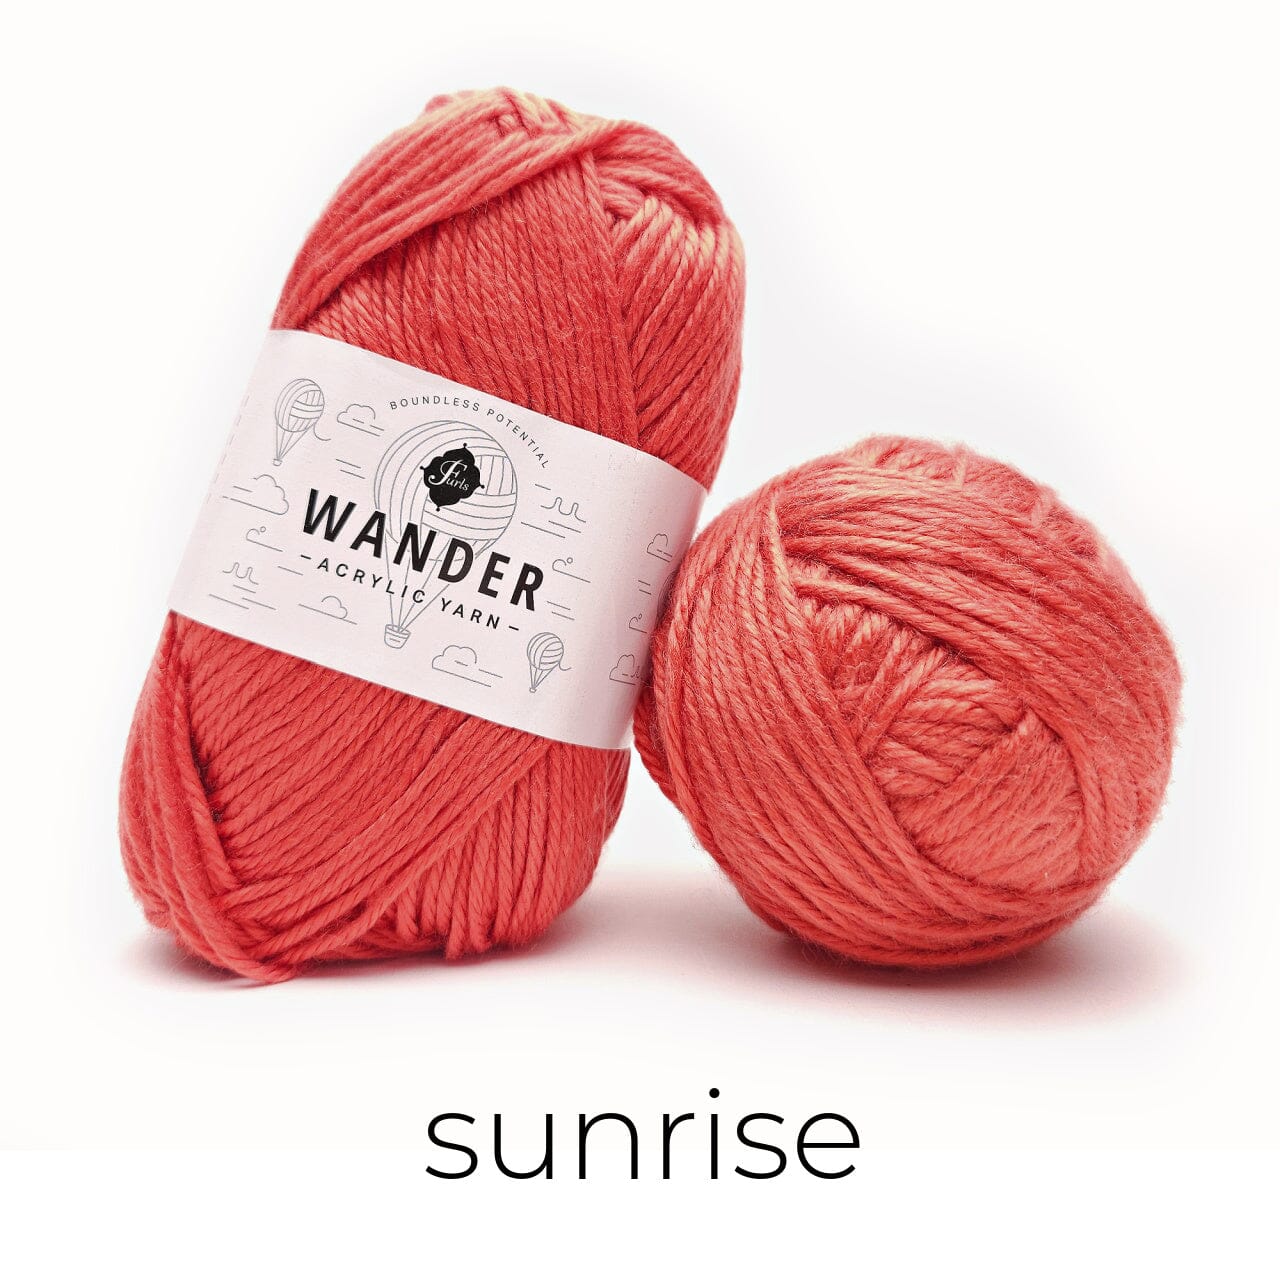
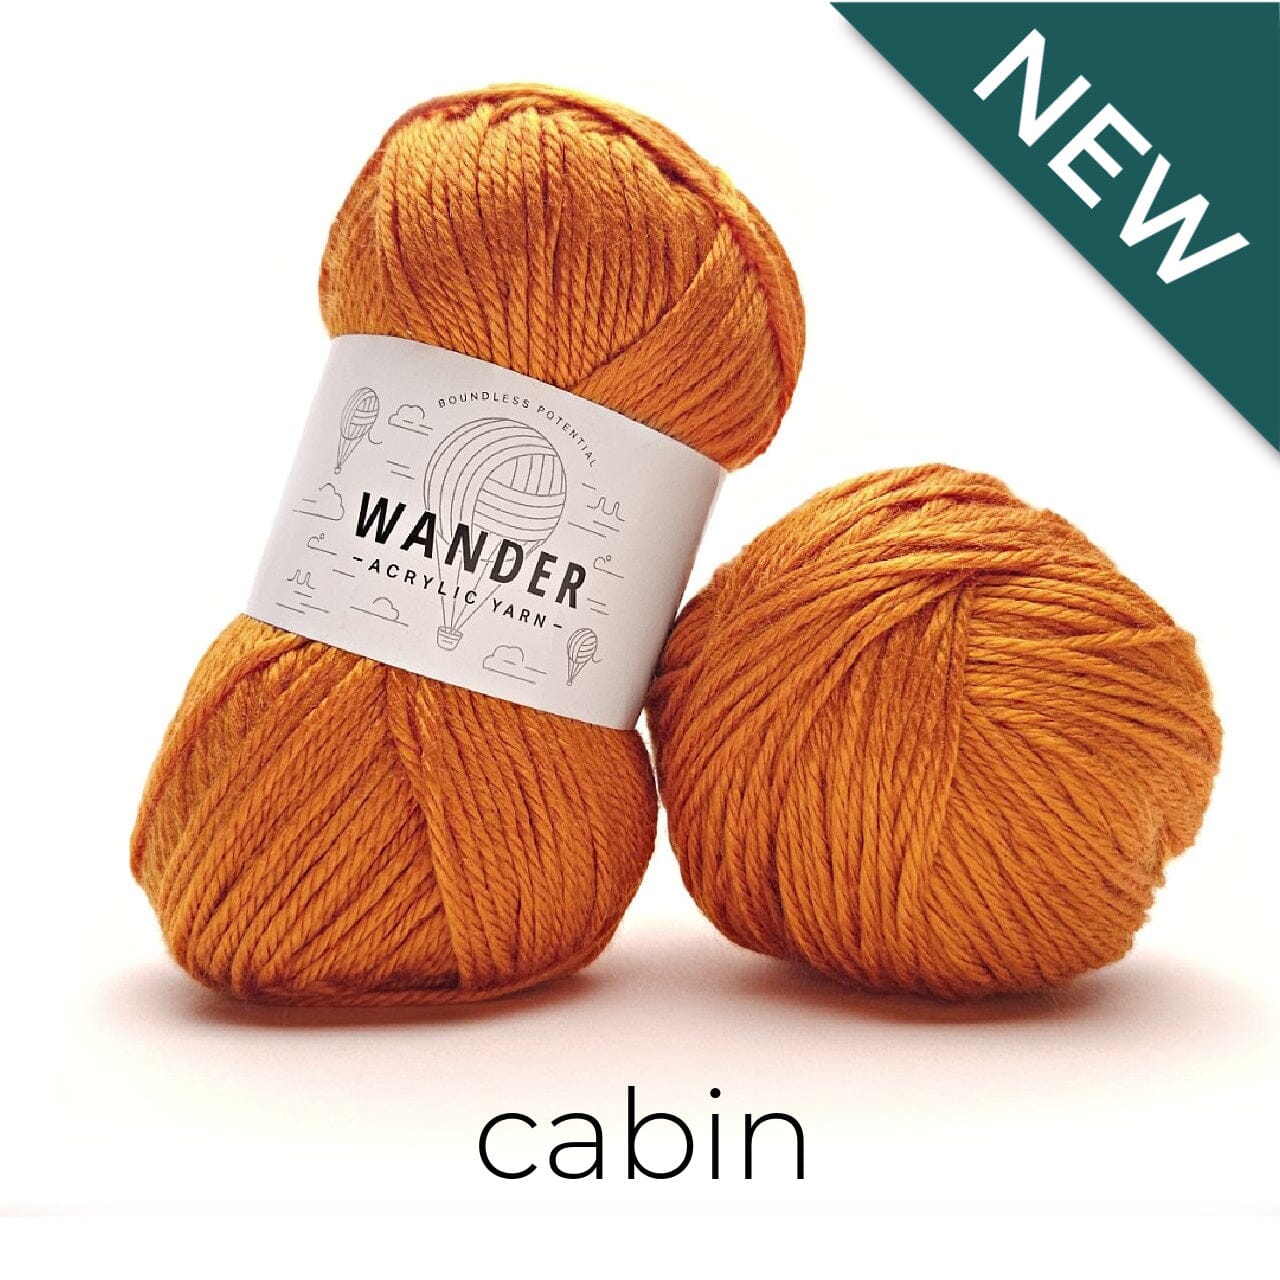
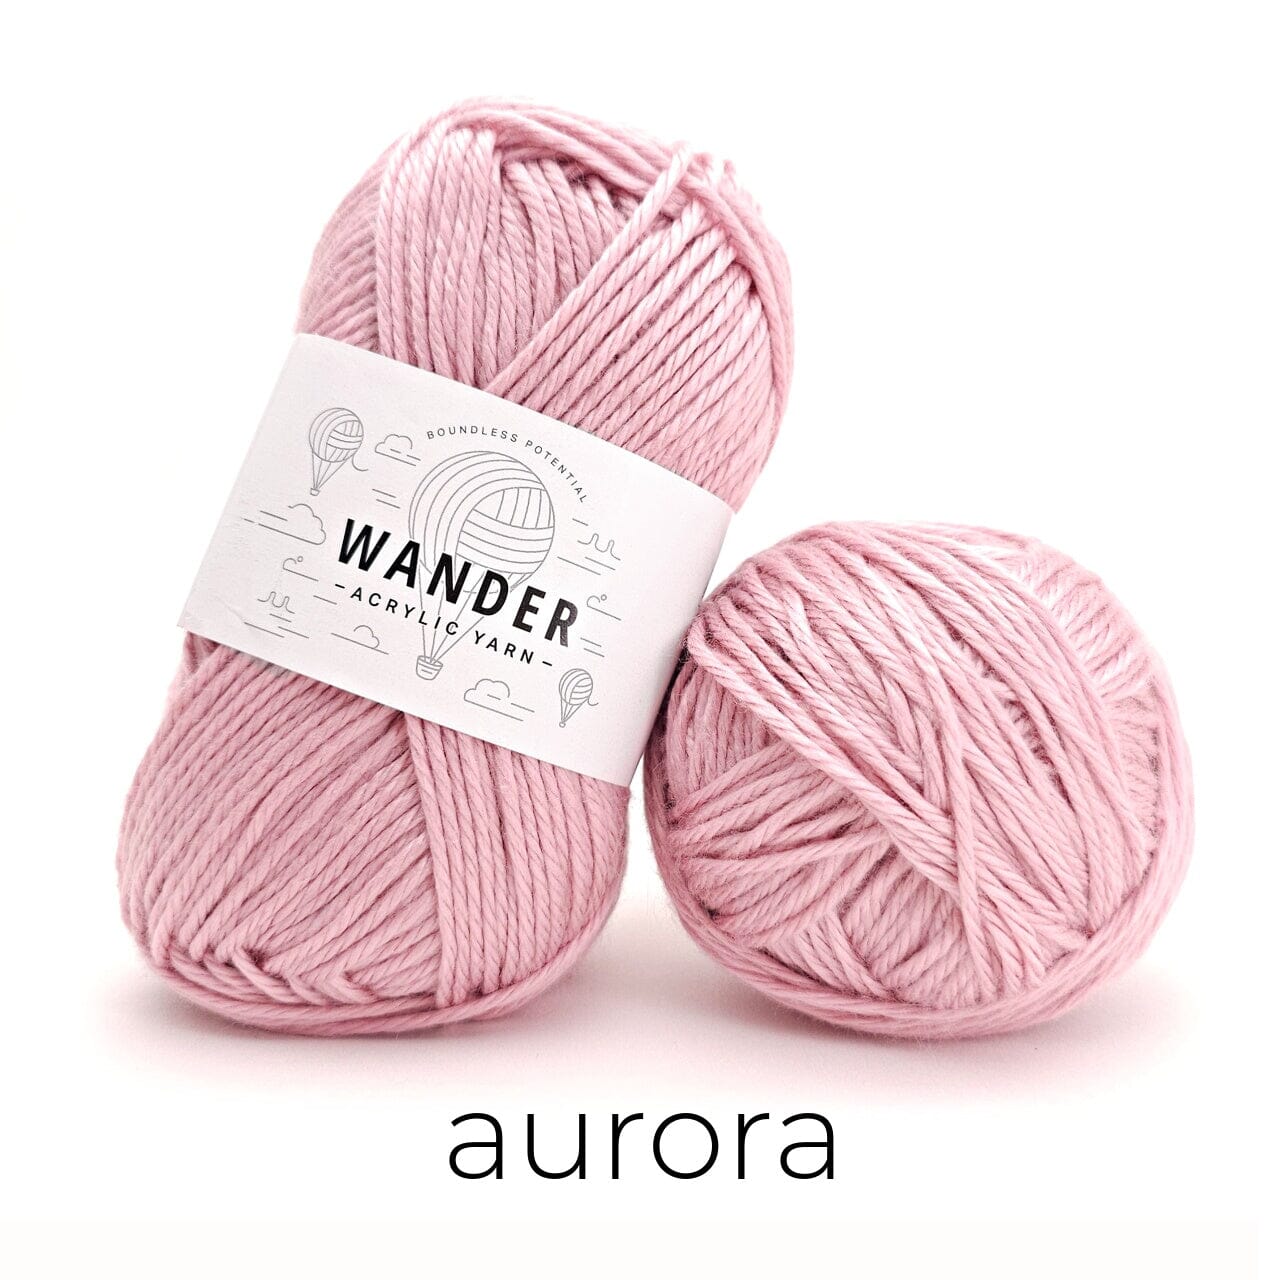
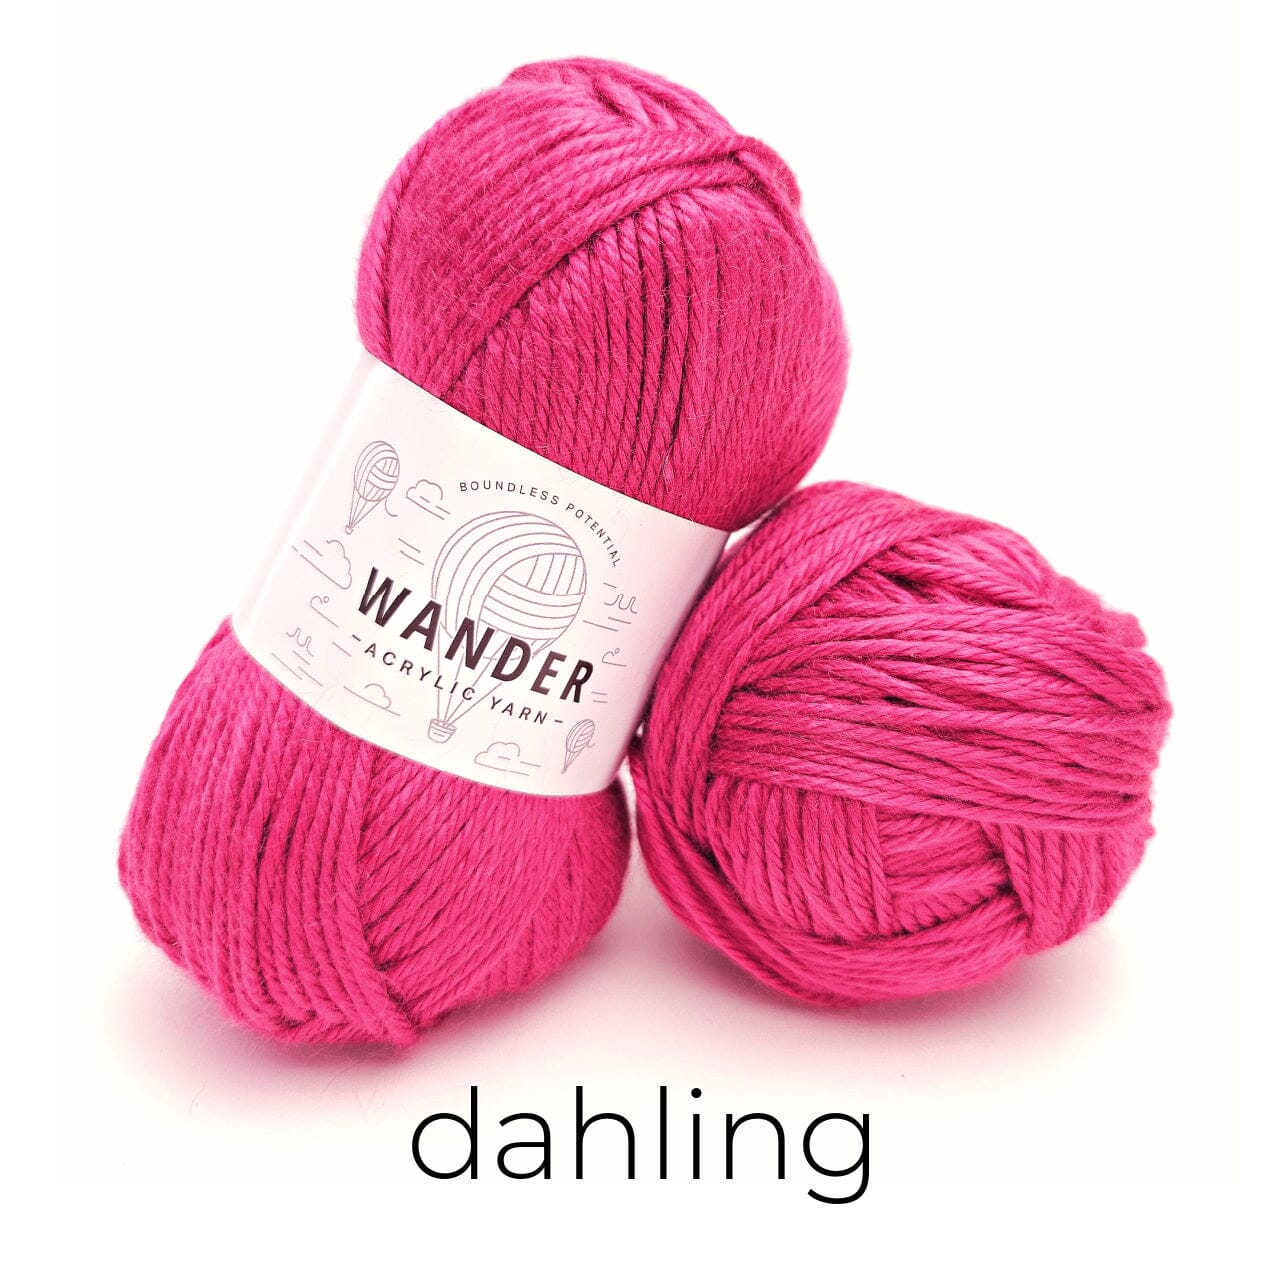
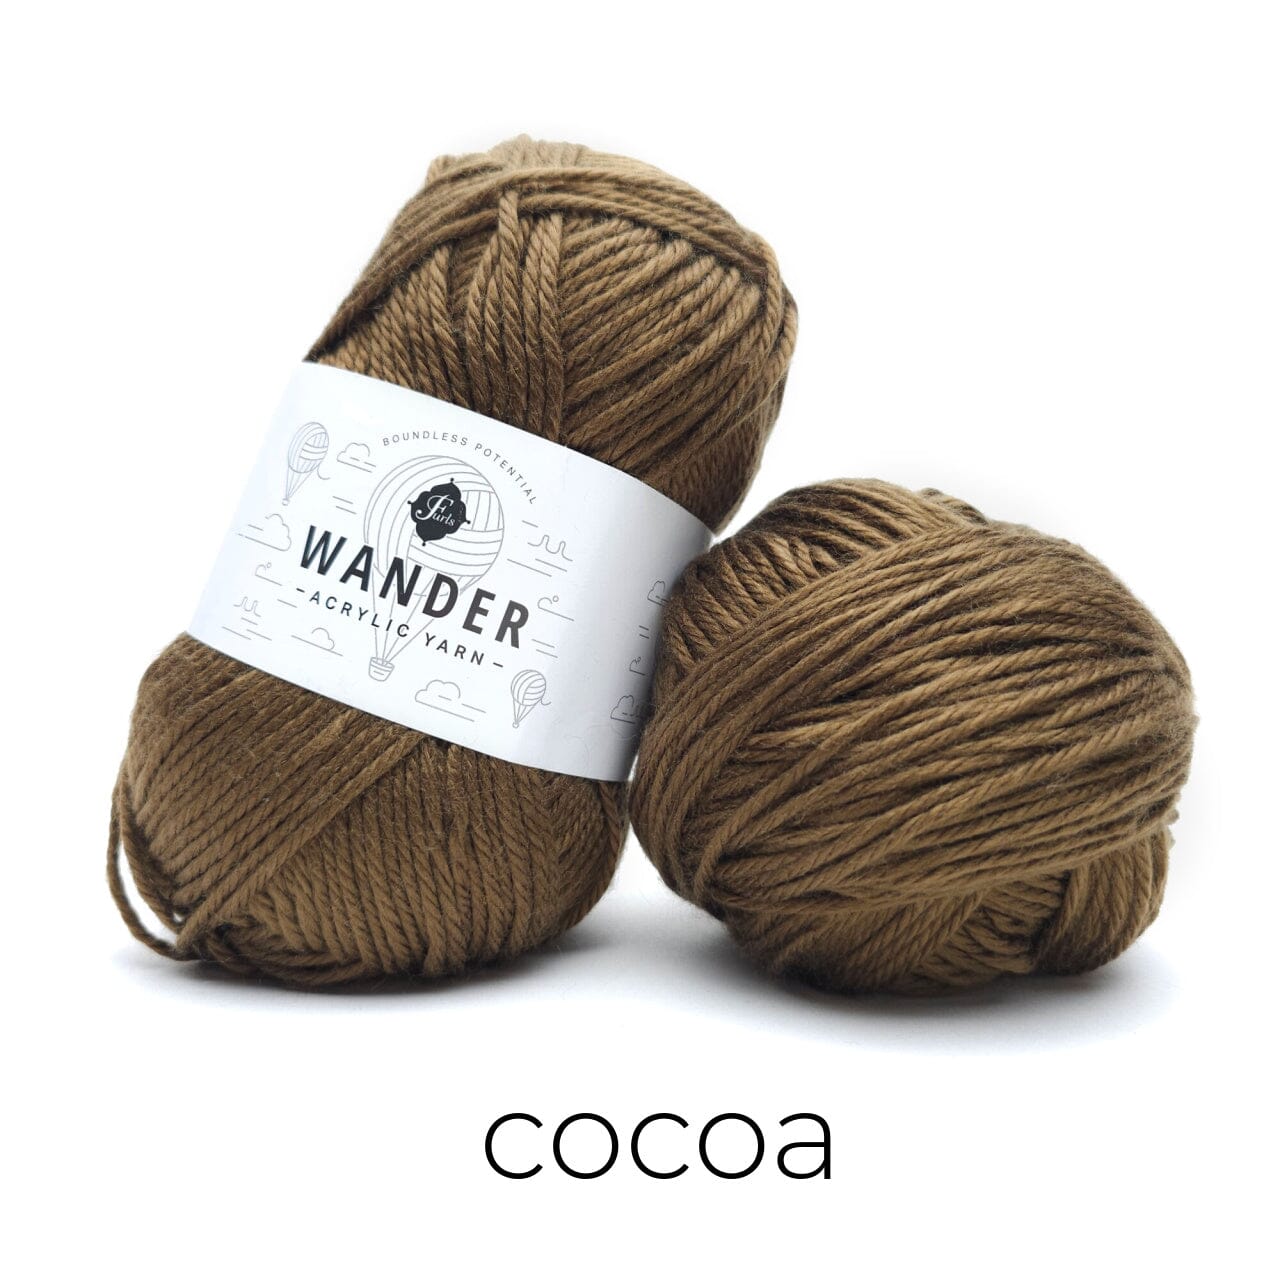
Stylecraft Special DK in the following shades and quantities:
- Saffron (C1): 60 grams 177 meters/193 yards
- Shrimp (C2): 30 grams 88,5 meters/97 yards
- Apple (C3): 80 grams 236 meters/258 yards
- Wisteria (C4): 30 grams 88,5 meters/97 yards
- Pistachio (C5): 50 grams 147,5 meters/161 yards
- White (C6): 200 grams 590 meters/644 yards
Total yardage: approx.: 1328 meters/1450 yards
Yarn needle for weaving in ends
Scissors
Stitch markers (optional)
NOTE: Blocking is essential to enhance the textured patternwork of your blanket and make sure your squares are the same size
PATTERN DETAILS
Abbreviations (U.S. Terms)
MR = magic ring
CH = chain
SK = skip
ST/STS= stitch/ stitches
SLST = slip stitch
SC = single crochet
HDC = half double crochet
BPHDC = back post half double crochet
DC = double crochet
FPDC = front post double crochet
BPDC = back post double crochet
*-* =repeat pattern between these symbols (This is only used for a full repeat, may contain smaller repeats)
{} =indicates how many stitches go into the same stitch or used to repeat a small set of instructions between these brackets the number of times given
[] = used to repeat a medium length set of instructions between these brackets, the number of times given
[] = used to repeat a longer set of instructions between these brackets, the number of times given
Special Stitches:
Back Post Half Double Crochet (BPHDC):
Yarn over, insert your hook from back to front around the post of given stitch, from right to left, yarn over and finish your half double crochet as usual.
Front Post Double Crochet (FPDC):
Yarn over, insert your hook from front to back around the post of given stitch, from right to left, yarn over and finish your double crochet as usual.
Back Post Double Crochet (BPDC):
Yarn over, insert your hook from back to front around the post of given stitch, from right to left, yarn over and finish your double crochet as usual.
Gauge: 4 half double crochet stitches and 2.5 rows = 1" / 2.5 cm
Additional notes:
- If a row/round starts with a Chain 1 or 2, it is not counted as a stitch, unless stated otherwise.
- Slip stitches do not count as stitches.
- CH 3 always counts as double crochet.
- At the end of every round, there’s going to be a note with the stitch count, so you can keep track of your work easily and avoid any mistakes. It’s written in a different color; the first line in bold is always the total stitch count for the round (starting with the border, this excludes corner stitches). Below that, I included a stitch count per side (excluding corner stitches) and per corner too, in case you prefer it that way.
- When working on the corners, always remember that there might be a hidden stitch hiding under the corner stitches which is the first stitch of the previous row
- Notes are written in a different color in (brackets) to help you through the pattern.
-You can start each round as I did in the pattern or you can use a standing stitch or chains, it’s totally up to you!
PART ONE
Welcome to the first part of the April Flowers Baby Blanket CAL! In this part you will create the first 12 blocks for your blanket. At the end of this part you should block all of your squares to make sure they are the same size.
Square 1: (Make 12)
To Start: Start wiith C1 (Saffron)
MR or CH 5, SLST into first CH to form a ring.
Round 1: CH 2 (doesn’t count as a ST), 12 DC into the ring, join with a SLST to first DC (not CH 2!) (12 DC)
Round 2: CH 2 (doesn’t count as a ST), 1 DC in same ST, 1 FPDC around the same ST and CH 2 you just put a DC into, *1 DC in next ST, 1 FPDC around same ST* repeat *to* to end, join with a SLST to first DC (12 FPDC, 12 DC) Fasten off.

Round 3: Join C2 (Shrimp) to any DC with a standing DC
1 DC in next ST and 1 FPDC around same ST (FPDC), {1 DC in next ST (DC), 1 DC in next ST and 1 FPDC around the same ST (FPDC)} 11 times, join with a SLST to first DC (12 FPDC, 24 DC)

Round 4: SLST to next ST, SLST to FPDC, CH 1, 1 SC in same ST, SK 2 STS, 7 DC in next ST, SK 2 STS, {1 SC in next ST, SK 2 STS, 7 DC in next ST, SK 2 STS} 5 times, join with a SLST to first SC (6 SC, 6 Shells)
Fasten off.

Round 5: Join C3 (Apple) in any SC with a standing DC
CH 1, SK next ST, 1 HDC in next ST, CH 1, SK 1 ST, 1 SC in next ST (4th DC of shell), CH 1, SK 1 ST, 1 HDC in next ST, CH 1, SK 1 ST, {1 DC in next ST (SC), CH 1, SK next ST, 1 HDC in next ST, CH 1, SK 1 ST, 1 SC in next ST (4th DC of shell) ), CH 1, SK 1 ST, 1 HDC in next ST, CH 1, SK 1 ST} 5 times, join with a SLST to first DC (6 SC, 12 HDC, 6 DC, 24 x CH 1 SP)

Round 6: CH 1, 2 HDC in same ST, 1 HDC in next CH 1 SP, 1 HDC in next ST (HDC), 1 HDC in next CH 1 SP, 2 HDC in next ST (SC), 1 HDC in next CH 1 SP, 1 HDC in next ST (HDC), 1 HDC in next CH 1 SP, {2 HDC in next ST (DC), 1 HDC in next CH 1 SP, 1 HDC in next ST (HDC), 1 HDC in next CH 1 SP, 2 HDC in next ST (SC), 1 HDC in next CH 1 SP, 1 HDC in next ST (HDC), 1 HDC in next CH 1 SP} 5 times, join with a SLST to first HDC (60 HDC)

Round 7: {CH 5 (Counts as DC+CH 2), 2 DC} in same ST (corner), 1 DC in next 2 STS, 1 HDC in next 2 STS, 1 SC in next 6 STS, 1 HDC in next 2 STS, 1 DC in next 2 STS, [{2 DC, CH 2, 2 DC} in next ST (corner), 1 DC in next 2 STS, 1 HDC in next 2 STS, 1 SC in next 6 STS, 1 HDC in next 2 STS, 1 DC in next 2 STS] 3 times, 1 DC in first corner, join with a SLST to 3rd CH of CH 5
Fasten off. (24 SC, 16 HDC, 32 DC, 4 x CH 2 SP)

Round 8: Join C6 (White) in any CH 2 corner SP with a standing DC
{CH 2, 2 DC} in same SP (corner), 1 BPDC around each ST on side, [{2 DC, CH 2, 2 DC} in next CH 2 SP (corner), 1 BPDC around each ST on side] 3 times, 1 DC in first CH 2 corner SP , join with a SLST to first DC
Total: 16 DC, 72 BPDC, 4 x CH 2 SP
Per Side: 4 DC, 18 BPDC

Round 9: SLST to CH 2 corner SP, CH 1, [{2 HDC, CH 2, 2 HDC} in CH 2 corner SP (corner), 1 HDC in each ST on side] 4 times, join with a SLST to first HDC
Fasten off, weave in all ends and block the squares.
Total: 104 HDC, 4 x CH 2 SP
Per Side: 22 HDC
Corner: 2 HDC, CH 2, 2 HDC

PART TWO
Welcome to the second part of the April Flowers Baby Blanket crochet-a-long! In the first part we created the first 12 blocks of the blanket and now, we will create the other 12 squares using a slightly different pattern. Remember to block all the squares at the end to make sure they are all the same size.
Square 2: (Make 12)
To Start: Start wiith C1 (Saffron)
MR or CH 5, SLST into first CH to form a ring.
Round 1: CH 2 (doesn’t count as a ST), 12 DC into the ring, join with a SLST to first DC (not CH 2!) (12 DC)
Round 2: CH 2 (doesn’t count as a ST ), 1 DC in same ST, 1 FPDC around the CH 2 from previous round and the same ST you just put a DC into, *1 DC in next ST, 1 FPDC around the same ST* repeat *to* to end, join with a SLST to first DC

Fasten off. (12 FPDC, 12 DC)
Round 3: Join C4 (Wisteria) to any DC with a standing DC
1 DC in next ST and 1 FPDC around the same ST (FPDC), {1 DC in next ST (DC), 1 DC in next ST and 1 FPDC around the same ST (FPDC)} 11 times, join with a SLST to first DC (12 FPDC, 24 DC)

Round 4: SLST to next ST, SLST to FPDC, CH 1, 1 SC in same ST, SK 2 STS, {3 DC, Picot ST, 3 DC} in next ST, SK 2 STS, [1 SC in next ST, SK 2 STS, {3 DC, Picot ST, 3 DC} in next ST, SK 2 STS] 5 times, join with a SLST to first SC
Fasten off. (6 SC, 6 Picot Shells)

Round 5: Join C5 (Pistachio) in any SC with a standing DC
1 BPDC around next ST, 1 BPHDC around next 2 STS, CH 1, SK Picot ST, 1 BPHDC around next 2 STS, 1 BPDC around next ST, [1 DC in next ST (SC), 1 BPDC around next ST, 1 BPHDC around next 2 STS, CH 1, SK Picot ST, 1 BPHDC around next 2 STS, 1 BPDC around next ST] 5 times, join with a SLST to first DC
(24 BPHDC, 6 DC, 12 BPDC, 6 x CH 1 SP)

Round 6: CH 1, 2 HDC in same ST, 1 HDC in next 3 STS, 2 HDC in next CH 1 SP, 1 HDC in next 3 STS (beware: the first ST might be hidden!), {2 HDC in next ST (DC), 1 HDC in next 3 STS, 2 HDC in next CH 1 SP, 1 HDC in next 3 STS} 5 times, join with a SLST to first HDC (60 HDC)

Round 7: {CH 5 (Counts as DC+CH 2), 2 DC} in same ST (corner), 1 DC in next 2 STS, 1 HDC in next 2 STS, 1 SC in next 6 STS, 1 HDC in next 2 STS, 1 DC in next 2 STS, [{2 DC, CH 2, 2 DC} in next ST (corner), 1 DC in next 2 STS, 1 HDC in next 2 STS, 1 SC in next 6 STS, 1 HDC in next 2 STS, 1 DC in next 2 STS] 3 times, 1 DC in first corner, join with a SLST to 3rd CH of CH 5
Fasten off. (24 SC, 16 HDC, 32 DC, 4 x CH 2 SP)

Round 8: Join C6 (White) in any CH 2 corner SP with a standing DC
{CH 2, 2 DC} in same SP (corner), 1 BPDC around each ST on side [{2 DC, CH 2, 2 DC} in next CH 2 SP (corner), 1 BPDC around each ST on side] 3 times, 1 DC in first CH 2 corner SP, join with a SLST to first DC
Total: 16 DC, 72 BPDC, 4 x CH 2 SP
Per Side: 4 DC, 18 BPDC

Round 9: SLST to CH 2 corner SP, CH 1, [{2 HDC, CH 2, 2 HDC} in CH 2 corner SP (corner), 1 HDC in each ST on side] 4 times, join with a SLST to first HDC
Fasten off, weave in all ends and block the squares.
Total: 104 HDC, 4 x CH 2 SP
Per Side: 22 HDC
Corner: 2 HDC, CH 2, 2 HDC

PART THREE
Welcome to the last part of the April Flowers Baby Blanket crochet-a-long! This part will be about joining all your blocked squares and making the border to complete your beautiful blanket!
Joining the Squares:
Lay the squares in order as the picture shows below, 4 squares horizontally and 6 squares vertically:

- To start: With C1 (Saffron) make a slip knot
- Insert your hook into the CH 2 corner space of your first bottom square then pull through the loop
- Insert your hook into the CH 2 corner space of the top square from top to bottom (keep the yarn under the hook and squares ), yarn over and pull through the loop (like a SLST)
- SLST from bottom to top into the next ST of the bottom square
- SLST from top to bottom into the next ST of top square (remember to keep the yarn under the hook and squares)
-
Keep slip stitching this way, until you get to the corner spaces, SLST to the CH 2 SP of the bottom square first and then SLST to the top CH 2 SP of the top square

(Note: do not make the SLSTS too loose or too tight and make sure to SLST through ALL STS!)
- Take your next bottom square, then SLST into the CH 2 corner SP from bottom to top (Pic 11). Now take your next top square and SLST into the CH 2 corner SP from top to bottom
- Keep joining until you joined 12 squares vertically
(Note: make sure, do not twist the squares after the first vertical join, to prevent it from happening, you can join your squares together on the side with a stitch marker as shown)

-
Join all squares vertically
Crochet them together horizontally this way:
- After joining all 24 squares vertically, start joining them the same way as above horizontally. When you get to the first vertical join line make sure you work in the CH 2 spaces first (bottom and then top), then skip the vertical joining line, SLST into the CH 2 SP of the next bottom square. then SLST to the next CH 2 SP of the square on top
- That’s how it should look after joining 4 corners
- Join all squares horizontally, then fasten off and weave in all ends.

Join all squares horizontally, then fasten off and weave in all ends.
The Border:
Round 1: Join C1 (Saffron) to the top right CH 2 corner SP (this way, you will work on your short side first), CH 1, {1 SC, CH 2, 2 SC} in CH 2 corner SP, [1 SC in next 26 STS,{1 SC in next CH 2 SP, 1 SC into the SLST join, 1 SC in next CH 2 SP, 1 SC in next 26 STS} 3 times, {2 SC, CH 2, 2 SC} in CH 2 corner SP, 1 SC in next 26 STS,{1 SC in next CH 2 SP, 1 SC into the SLST join, 1 SC in next CH 2 SP, 1 SC in next 26 STS} 5 times, {2 SC, CH 2, 2 SC} in CH 2 corner SP (corner)] twice, omitting last corner, put 1 SC in first CH 2 corner SP, join with a SLST to first SC
Short side: 113 SC
Long side: 171 SC
Corner: 2 SC, CH 2, 2 SC

Round 2: SLST to CH 2 corner SP, CH 1, [{2 SC, CH 2, 2 SC} in CH 2 corner SP (corner), 1 SC in each ST on side] 4 times, join with a SLST to first SC
Fasten off.
Short side: 117 SC
Long side: 175 SC
Corner: 2 SC, CH 2, 2 SC
Round 3: Join C6 (White) to the top right or the bottom left CH 2 corner SP with a standing DC (this way, you will work on your short side first)
{CH 3, V ST} in CH 2 corner SP, [SK 4 STS, V ST in next ST, {SK 3 STS, V ST in next ST} 28 times, SK 4 STS, {V ST, CH 3, V ST} in CH 2 corner SP (corner), SK 3 STS, {V ST in next ST, SK 3 STS} 44 times, {V ST, CH 3, V ST} in CH 2 corner SP (corner)] twice, omitting last corner, put 1 DC, CH 2 in first CH 2 corner SP, join with a SLST to first DC
Short side: 29 V ST
Long side: 44 V ST
Corner: V ST, CH 3, V ST
Round 4: SLST to CH 3 corner SP, {CH 5 (counts as DC+CH 3), V ST in CH 3 corner SP (Pic 1), [V ST in each CH 2 SP of V ST on side (Pic 2), {V ST, CH 3, V ST} in CH 3 corner SP (corner)] 4 times, omitting last corner, put 1 DC, CH 2 in first corner, join with a SLST to 2nd CH of CH 5
Short side: 31 V ST
Long side: 46 V ST
Corner: V ST, CH 3, V ST
Round 5: same as Round 4
Short side: 33 V ST
Long side: 48 V ST
Corner: V ST, CH 3, V ST
Round 6: same as Round 4
Fasten off.
Short side: 35 V ST
Long side: 50 V ST
Corner: V ST, CH 3, V ST

Round 7: Join C3 (Apple) to the top right or the bottom left CH 3 corner SP (this way, you will work on your short side first)
CH 1, [{1 SC, CH 4, 1 SC} in CH 3 corner SP (corner), CH 3, {1 SC in next CH 2 SP of V ST, CH 3} 37 times, {1 SC, CH 4, 1 SC} in CH 3 corner SP (corner), CH 3, {1 SC in next CH 2 SP of V ST, CH 3} 52 times] twice, join with a SLST to first SC
Short side: 37 SC, 38 x CH 3 SP
Long side: 52 SC, 53 x CH 3 SP
Corner: 1 SC, CH 4, 1 SC

Round 8:
SLST to CH 4 corner SP, {CH 3 (counts as DC), 4 DC, Picot ST, 5 DC} in CH 4 corner SP (corner), [1 SC in next CH 3 SP, [{3 DC, Picot ST, 3 DC} in next CH 3 SP, 1 SC in next CH 3 SP] 9 times, {3 DC, Picot ST, 3 DC} in next SC, 1 SC in next CH 3 SP, [{3 DC, Picot ST, 3 DC} in next CH 3 SP, 1 SC in next CH 3 SP] 9 times, {5 DC, Picot ST, 5 DC} in CH 4 corner SP (corner), 1 SC in next CH 3 SP, [{3 DC, Picot ST, 3 DC} in next CH 3 SP, 1 SC in next CH 3 SP] 26 times, {5 DC, Picot ST, 5 DC} in CH 4 corner SP (corner)] twice, omitting last corner, join with a SLST to top of CH 3
Fasten off, weave in all ends, block the finished item.
Short side: 21 SC, 19 Picot Shells
Long side: 27 SC, 26 Picot Shells
Corner: 5 DC, Picot, 5 DC

Thank you for choosing this pattern for your project! When you make it, I’d like to see it! Remember to tag me – @k.a.m.e_crochet or use hashtag #kamecrochet on Instagram.
You can also join my Facebook Group where you can get updates on new pattern releases or help with existing ones if you get stuck.